
Ok so we're now into September which is officially autumn apparently! So that means the days are getting shorter and that lovely summer weather will begin to disappear forcing us inside. But never fear as crafters this means more time to dedicate to our true love "making ".
I've been a very bad blogger this year due to circumstances outside my control but now I'm going to make up for it. With Christmas fast approaching I don't know about you but money is tight so I have decided to try and help by sharing some of the things I make. We all have stockpiles of supplies, bits and bobs of this and that, so I am going to try and show you things we can make with what we have and that won't take long!


You just needs two small pieces of fabric
The piece for the outside is 15cm x18cm
And the inside piece is 15cm x 22cm


Turn the fabric right side out and press so that there is approx the same amount of the inside fabric showing at each end.

At this stage I always fold in half and press gently so you can see where the center is.

Now fold each side in to the center and pin.
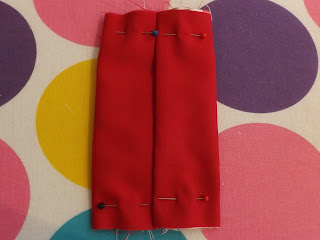
Again allowing 1cm seam allowance stitch each end, if you don't want the end left rough then either overlock (if you have that facility I don't so tend to just use a zigzag stitch) or trim with pinking shears.

Now turn right side out and press .

Add a pack of kleenex tissues and viola!!

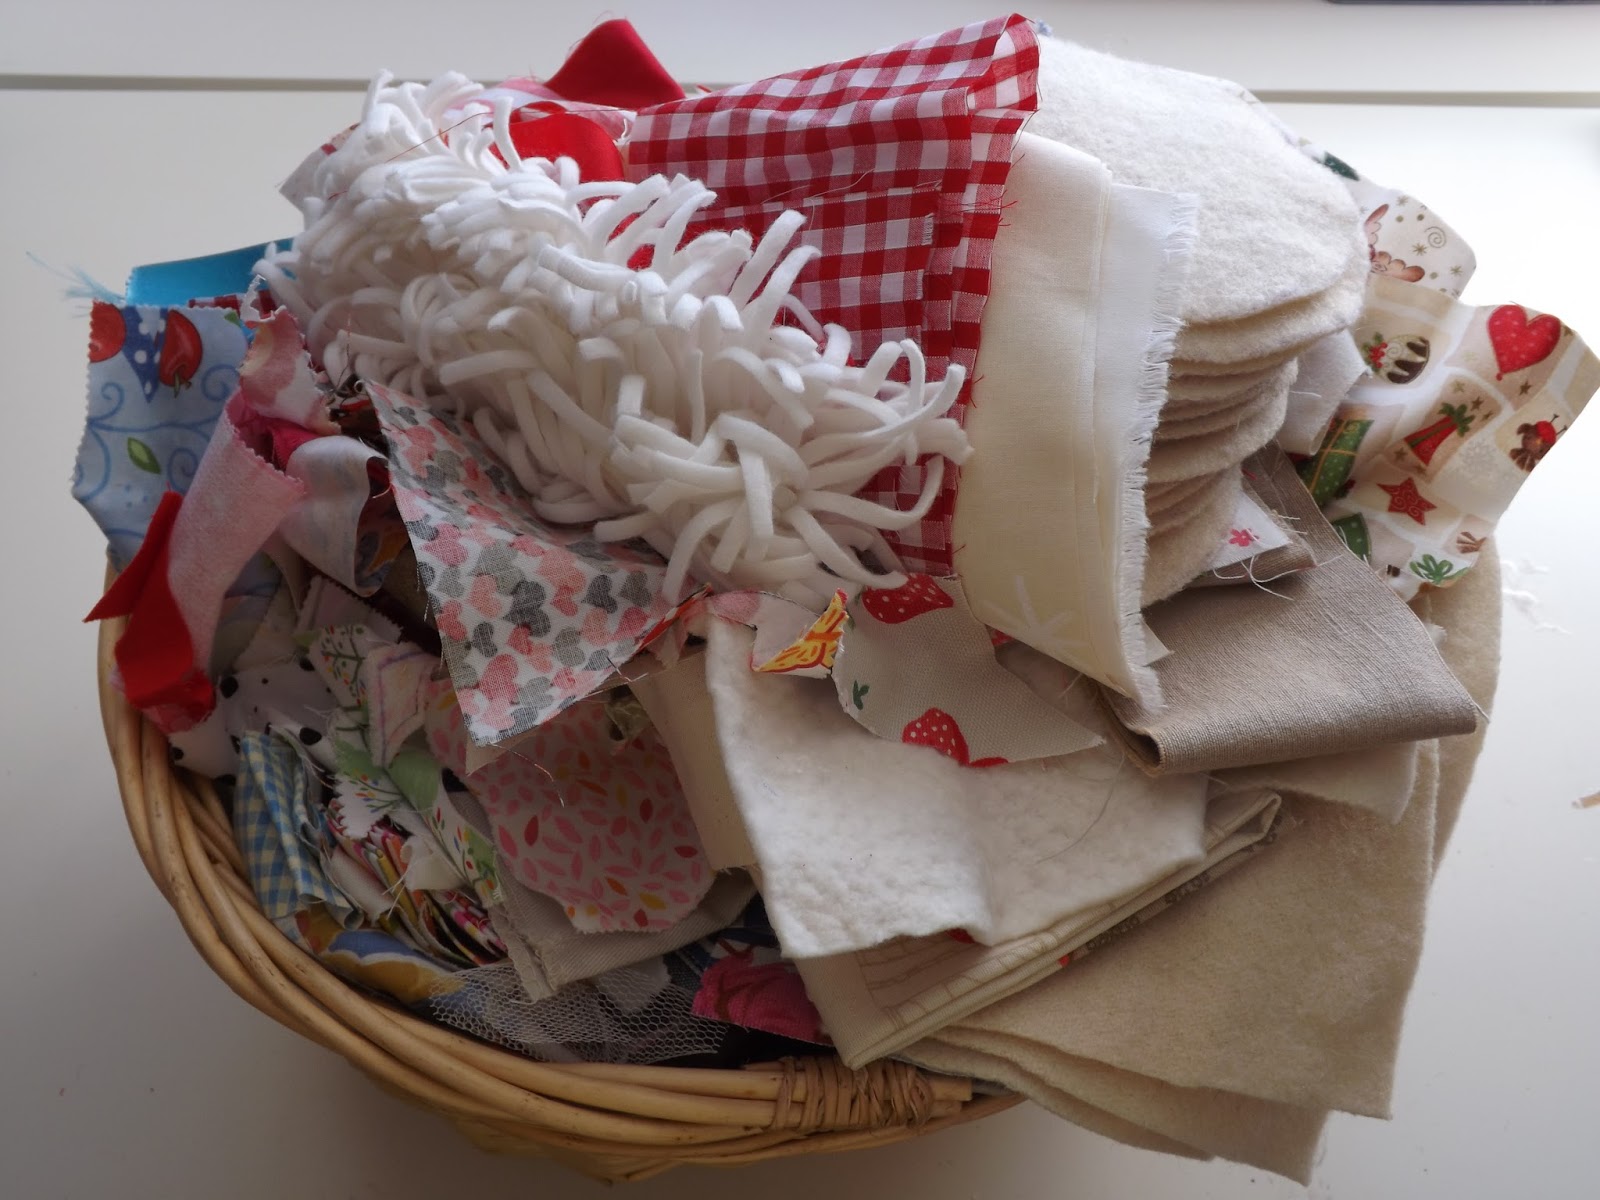
I never throw scraps away and any off cuts of fabric no matter how small goes in here my scrap basket

Then the rest of my fabric is stored here! Oh apart from the two large boxes under my desk!!
But back to the job in hand, now you'll have to bear with me as I am slightly nervous I've never done a tutorial before but here goes...
I'm starting with something very simple (for you and me) a tissue case.You just needs two small pieces of fabric
The piece for the outside is 15cm x18cm
And the inside piece is 15cm x 22cm

Pin the two pieces right sides together then seam along each end, allow 1cm for the seam.


These are great standby gifts and I guarantee it'll take you longer to choose what fabric to use than to make!
3 comments:
Thats so cute! How very clever to get started now and slowly slowly add to the pile of gifts.
x x x
Well I love it . So simple but so useful. I can think of a few stockings theses can go in so will be raiding my scrap box too! Thanks for the tutorial, it's very clear. X
You're so well organized.
My scraps might fit in a 9X12
storage unit!
Susan
Post a Comment